| Buying Your Domain
Once you have a niche selected, a brand created, and done some research, it’s time to buy a domain name. This is pretty easy although it can be frustrating at times because a lot of the keyword based domain names have already been taken. Buying keyword based domains aren't what they used to be anymore, so instead, buy a "brandable" domain name from one of these companies.

Go on over to a domain registrar such as Godaddy, NameCheap, or 1&1. Take your time and find yourself a strong keyword based domain or a name related to your chosen brand. If you can't find a keyword based domain, then buy one that is brandable. Once you’ve bought a good domain name that you’re happy with, it’s time to grab hosting. We’ll have to come back to the domain registrar soon because after we get your hosting account set up, you’ll have to set your nameservers and install your website.
Hosting & Nameservers
Okay, now we’re going to get a little technical. Don’t lose focus on me now, you can do this! If you’re an advanced student then you should have no problem grabbing a domain name, setting your nameservers, and getting the website up and running. But I know most of you are not advanced marketers, which is why I’m walking you through it.
Anyway, let’s continue on. You’re going to be setting up your website now, and you’re going to be using WordPress. If you don’t know what WordPress is, it’s an open source platform for web developers created by Matt Mullenweg and Mike Little back in 2003.
In my opinion, it’s the most user friendly platform out there, and is extremely customizable. You really don’t need to be a programmer to create beautiful websites, and that’s what WordPress is all about. I’m not an extremely technical guy either, so I’m really thankful that WordPress was created.
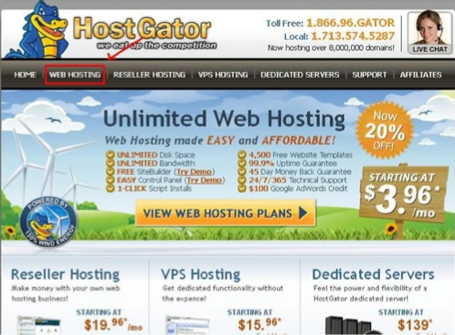
HostGator
HostGator is a hosting company that you’ll probably be using for your website. The reason I suggest them over any other hosting company is that they are affordable and pleasant to work with. They also have a WordPress installer built into their control panel, and that makes this whole process much easier. I think Bluehost has that functionality as well, but I have never used them, so I cannot comment on them.
Anyway, now it’s time to grab your hosting and set your nameservers. Go to HostGator and click on “Web Hosting”, then I’d recommend that you select their “Business” package, although you can grab the basic one and then upgrade later. It’s your decision. Just grab a plan and then login to your cPanel.
Oh, and by the way: you might want to create a business email address for your new project. You can choose to set one up through your hosting account, or you can set one up on a free email provider. These include Outlook, Gmail, Yahoo, and Hotmail.
It’s important to have a completely separate identity for your brand. But even if you’re using yourself as the brand, you will want to create an email account for your business anyway. So make sure that you do that. Anyway, let’s continue on with Hosting...
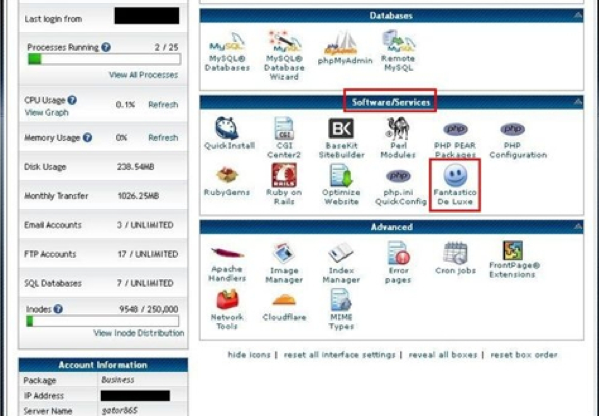
Once you grab your hosting, it’s time to set your Nameservers and then install WordPress. Scroll down the page in your HostGator cPanel to where it says “account information”. There you will find your Nameservers, which is where your website will be hosted. Write those figures down because you’ll need them soon.
The next thing you need to do once you have those figures written down is to go back to your registrar and login to your cPanel there. You need to go to your domain account information and find where it says “Nameservers”.
Once you find that, you need to set your Nameservers to your hosting account. This should only take a moment since you only have to copy and paste the figures, click save, and wait for the update to configure.
You can wait up to a few hours for the update to be processed, so in the meantime, you’re going to install WordPress onto your domain. So go back to your HostGator cPanel and scroll down to where it says “Software Services”, then click on “Fantastico Deluxe”.
There will be a long list of programs inside Fantastico, but you’ll want to look for where it says “Blogging”. Then chose the WordPress button from the menu. Go through the steps and create your admin profile and login data. There’s three steps to take and they should be fairly easy to follow.
|